Macで外付けHDDがフォーマット(exFAT形式)できない時にやること
目次
Macでディスクをフォーマットする基本的な方法
はじめにMacでディスクをフォーマットする基本的な方法を見ておこう。
フォーマットがしたくて訪れた人は、まずはこの方法を試すと良いだろう。
アプリケーション>ディスクユーティリティを開く。
フォーマットしたいディスクを選んで消去をクリック。

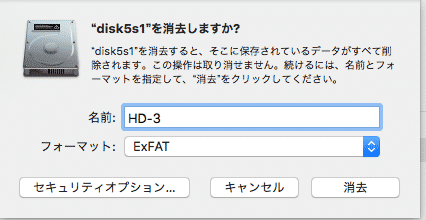
ディスクの名前(任意)を入力し、フォーマットの形式を選択し、消去を行う。
これで消去できれば、何も問題はない。
事象
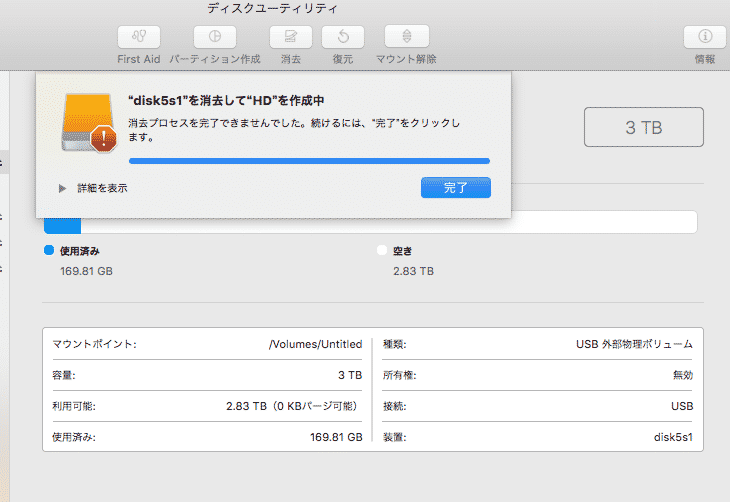
MacBookでディスクユーティリティを用いて外付けのHDDをフォーマットしようとすると、「消去プロセスを終了できませんでした」と表示され、フォーマットができない。
環境
- HDD
- BUFFALO USB3.0 外付けハードディスク
- 元々はTVの録画用に使用していた
- MacBook Pro
- プロセッサ名: Intel Core i5
- メモリ: 8 GB
- OS: version10.13.6
原因
残念なことに事象が発生した原因は不明です。録画用に使用していたからなのか、容量が3TBと大きいからなのか、はたまた別の問題なのか。
解決
ターミナルから強制的にフォーマットを行った。
ターミナルはcommand + spaceを押してspotlight検索から、ターミナルと入力し起動。 あるいはアプリケーション>ユーティリティ>ターミナル.appを起動させる。
ターミナルでunmountを実行する
まずはフォーマット対象のディスクを特定する。
ターミナルでdiskutilと入力すると、実行できるコマンドの一覧が表示される。※これは別に実行する必要はない。
diskutil
Disk Utility Tool
Utility to manage local disks and volumes
Most commands require an administrator or root user
WARNING: Most destructive operations are not prompted
Usage: diskutil [quiet] <verb> <options>, where <verb> is as follows:
list (List the partitions of a disk)
info[rmation] (Get information on a specific disk or partition)
listFilesystems (List file systems available for formatting)
activity (Continuous log of system-wide disk arbitration)
u[n]mount (Unmount a single volume)
unmountDisk (Unmount an entire disk (all volumes))
eject (Eject a disk)
mount (Mount a single volume)
mountDisk (Mount an entire disk (all mountable volumes))
enableJournal (Enable HFS+ journaling on a mounted HFS+ volume)
disableJournal (Disable HFS+ journaling on a mounted HFS+ volume)
moveJournal (Move the HFS+ journal onto another volume)
enableOwnership (Exact on-disk User/Group IDs on a mounted volume)
disableOwnership (Ignore on-disk User/Group IDs on a mounted volume)
rename[Volume] (Rename a volume)
verifyVolume (Verify the file system data structures of a volume)
repairVolume (Repair the file system data structures of a volume)
verifyDisk (Verify the components of a partition map of a disk)
repairDisk (Repair the components of a partition map of a disk)
eraseDisk (Erase an existing disk, removing all volumes)
eraseVolume (Erase an existing volume)
reformat (Erase an existing volume with same name and type)
eraseOptical (Erase optical media (CD/RW, DVD/RW, etc.))
zeroDisk (Erase a disk, writing zeros to the media)
randomDisk (Erase a disk, writing random data to the media)
secureErase (Securely erase a disk or freespace on a volume)
partitionDisk ((re)Partition a disk, removing all volumes)
resizeVolume (Resize a volume, increasing or decreasing its size)
splitPartition (Split an existing partition into two or more)
mergePartitions (Combine two or more existing partitions into one)
appleRAID <verb> (Perform additional verbs related to AppleRAID)
coreStorage <verb> (Perform additional verbs related to CoreStorage)
apfs <verb> (Perform additional verbs related to APFS)
diskutil <verb> with no options will provide help on that verb
どうもlistを実行すれば、ディスクの一覧が表示できそうである。
ターミナルで
diskutil list を実行。
すると以下のように一覧が表示される。
diskutil list
〜中略〜
/dev/disk5 (external, physical):
#: TYPE NAME SIZE IDENTIFIER
0: GUID_partition_scheme *3.0 TB disk5
1: Microsoft Basic Data 3.0 TB disk5s1
対象は/dev/disk5だとわかった。
続いて
diskutil unmountDisk /dev/diskX(Xは各自のdiskの番号) を実行する。
diskutil unmountDisk /dev/disk5
Unmount of disk5 failed: at least one volume could not be unmounted
Unmount was dissented by PID 70177
まあわかっていたけれど、failedとなる。これはアプリケーション上で実行するのとほぼ同じことだろうからね。
もしこれでフォーマットが成功した場合は、次のコマンドは飛ばしてよい。
上記のコマンドでfailedとなった場合は、 >sudo diskutil unmountDisk force /dev/diskX(Xは各自のdiskの番号) を実行する。
root権限はあったので、sudoはいらなかったかもしれない……
sudo diskutil unmountDisk force /dev/disk5
Forced unmount of all volumes on disk5 was successful
unmountが成功した!
ディスクユーティリティから消去を実行する
unmountが成功したら、再度ディスクユーティリティアプリを開く。
きっとターミナル上で続きを実行できると思うが、GUIに頼りがちの僕です。
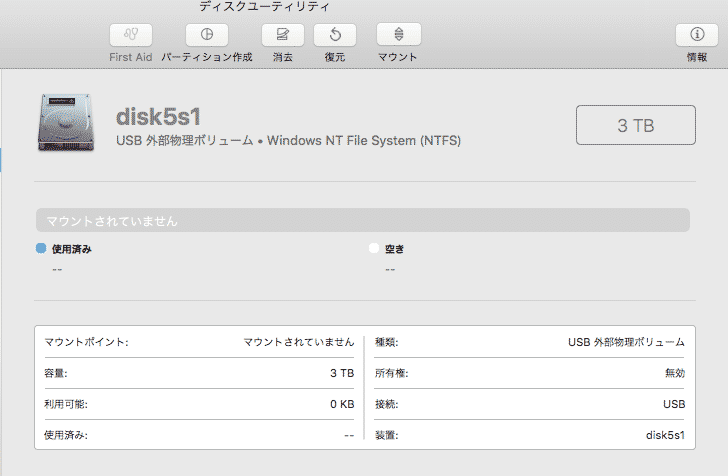
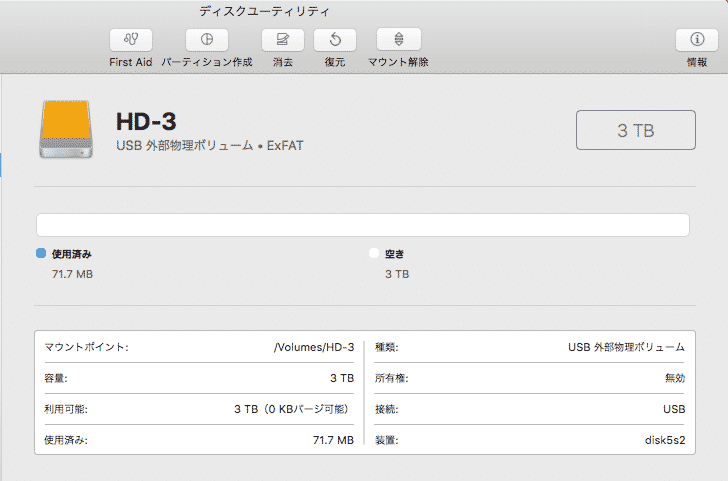
マウントされていないことがわかる
消去ボタンから名前(任意)とフォーマットの形式を選択し、消去を実行する。
フォーマットが完了し、使用できるようになった。
これで自分の使いたいように外付けのHDDが使用できようになった。